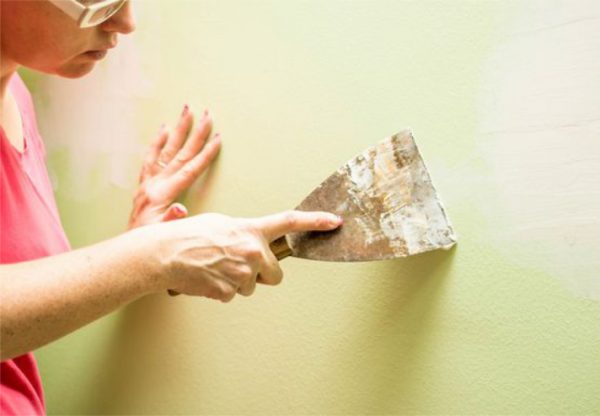
Learning how to repair drywall can save a homeowner time and potentially a fair amount of money. Also called Sheetrock, plasterboard, or wallboard, drywall was invented in 1916 and quickly caught on, since it was relatively cheap and easy to erect. The downside? Even today, it’s pretty easily damaged from random bumps by heavy furniture or leaky pipes behind walls.
So if your own walls or ceiling have major dents, cracks, or blemishes, you might be wondering how to repair them. Is drywall damage easy to patch, or better left to a pro?
While a professional contractor is better for putting up new walls or doing major repairs, many say that repairing drywall can be a DIY job—at least, with some guidance. So strap on your tool belt, grab some sanding paper, the right compound, and check out these steps to learn drywall repair that you can do yourself.
Drywall repair 101
Small holes or cracks in drywall (meaning less than a centimeter wide and deep, like nail pops or picture hook damage) can be filled with plaster paste. You can buy this repair solution at the local hardware store, where it may be called spackling paste, joint compound, drywall compound, or mud.
If you’re just learning how to fix drywall, select a paste or joint compound that dries in about 45 minutes, which will give you time to make and correct spreading mistakes, says Luis Perez, owner of Primary Colors, a drywall and painting company in Falls Church, VA. Then try the following steps:
Scrape or cut away any loose drywall particles in the damaged area so that the hole is clean.
With a putty knife that’s 3, 6, or 8 inches wide, completely fill the hole with a first coat of paste or joint compound and create a smooth wall surface. For deep holes (over 2 inches deep), layer the compound, making sure each layer is dry before adding the next. If you’re using filler that dries in 45 minutes, that’s how long it’ll take; check the drying time on your joint compound label if you’re not sure.
After the final coat of compound is dry, try lightly sanding the repair area with 80- to 120-grit or fine-grit sandpaper until it is smooth and flush with the surrounding wall or ceiling.
For patching large drywall cracks
If the crack or hole is big (meaning more than a centimeter wide or deep), you’ll need to cut a patch of drywall from scrap, or buy a precut one in order to repair it. Then take the following steps:
If the damage in your wall or ceiling is irregularly shaped, rather than try to make your drywall patch fit the hole, it’s easier to make the hole match your patch by using a utility knife to cut a neat square around the hole in your wall.
Either cover the hole with a self-adhering fiberglass mesh patch or, if studs are visible (the wood behind the wall that anchors the drywall sheets), fill the hole with a similarly sized piece of drywall and then nail or screw it to the studs.
When you’ve placed your mesh patch, spread a thin coat of paste or compound along the perimeter, then place drywall tape over the mud, which will help hide the seam where new and old drywall meet. Let the repair dry for 10 to 20 minutes.
Apply two or three more thin layers of spackling paste or joint compound over the seams of the patch until the entire area is flush with the surrounding wall. Use an even pressure when spreading and smoothing the compound.
Once your patch looks flush with the wall, sand the area to make the seams truly disappear. After sanding, wipe the wall with a damp rag to pick up drywall dust.
Hide your repairs
Even if you’re a pro and have known how to repair drywall for years, you’ll typically find that once everything’s filled or patched, you’ll want to paint over it to hide your repair.
“The trick is to make the repair look like it never happened,” says Perez. “With a bad repair, you can see bumps, especially when the lights are on.”
Paint small repairs with a touch-up brush, feathering the edges of the patch so it blends with the wall. However, if you have a large section or several repairs, you’ll have to repaint the entire wall to keep the color entirely uniform.